In this tutorial, we’ll show you how to install Google Analytics into your WordPress website.
If you’ve only recently hopped on the Search Engine Optimization train, or you simply want to know who visits your website, Google Analytics is one of the most powerful ways to do it. Analytics become even more critical when you start to offer products for sale and you need to measure time on site or the visitor’s browsing flow throughout your shop. Even for avid content marketers, knowing what visitors read is very important.
That being said, Google Analytics is not for the faint of heart. On the surface, it’s easy to get started and gain insights to important metrics like total unique visitors and top content pages, but if you find yourself clicking into the depths of custom reporting or dimensions, you might end up over your head. Luckily there are plenty of resources available, and even a few plugins that help streamline your reporting — one we’ll look at today.
Video tutorial for installing Google Analytics to WordPress
Don’t forget to subscribe to our channel!
How to install Google Analytics in WordPress without a plugin
You don’t always need a plugin to get extra function out of your WordPress website, and that includes setting up your Google Analytics javascript tracker. I do want to point out one thing, however, I am going to show you a non-techy way to do it. That is to say, you won’t have to be coding your template files or editing the functions.php file — I’ll leave that up to the developer-minded readers to research.
Where to find your Google Analytics tracking code
I won’t show you how to signup for a Google account, but you’re going to need to do that first. After that, browse to Google.com/analytics and browse to the Admin dashboard.
Admin > Tracking info > Tracking code
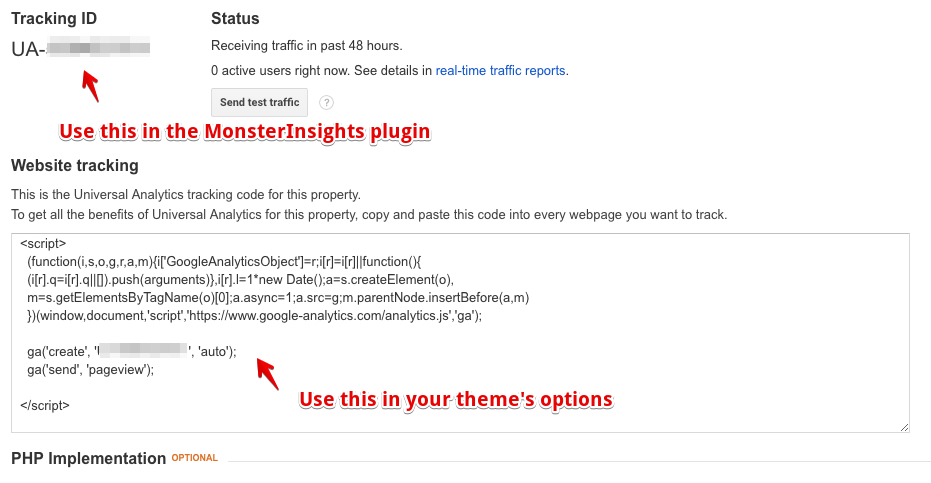
Depending on what option you end up using, you will use either the single tracking ID or the contents of the script. Once you’ve copied one to your clipboard, you’re armed to configure your site to use the Google Analytics tracker!
Adding tracker code to a theme, without code
Most well-coded WordPress themes have an options page where you can paste in the tracking code you get from the Analytics admin dashboard seen above. In fact, you can use this space to drop in any kind of external tracking script.
In the video tutorial, I’ll show you how to navigate to the scripts box in my own theme, Modern Business. Watch that here (or above.)
In the Modern Business theme, here’s how to navigate to the scripts box shown:
Appearances > Theme Options > Scripts
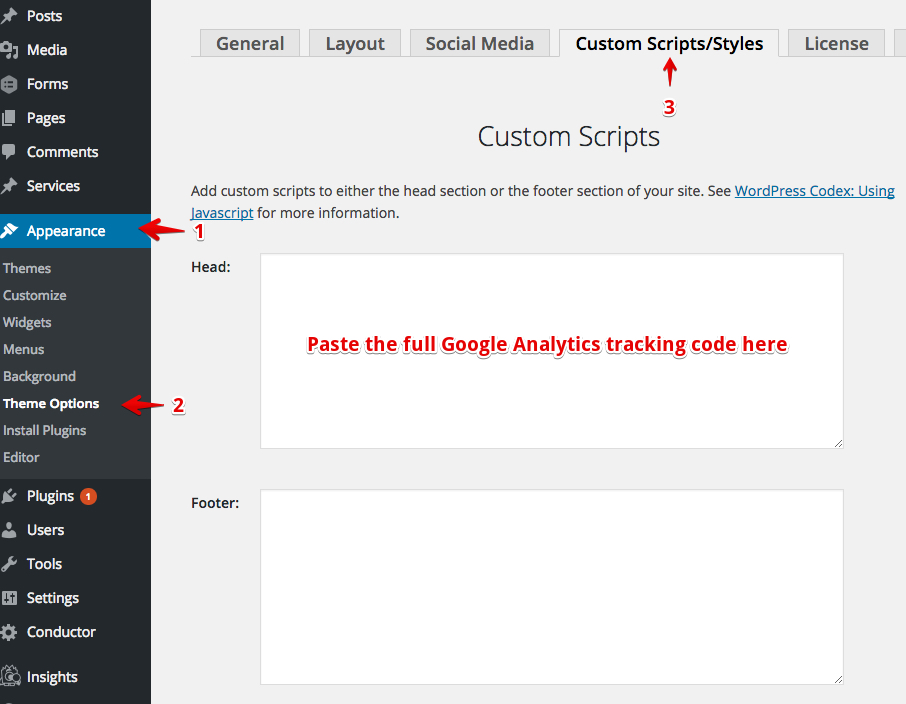
Simply paste in the Google Analytics tracker in the Head input box, and click save options. The Google Analytics tracker will now load on every page in your WordPress website. In roughly 24 hours, your Google Analytics dashboard will come to life with numbers, charts, and insights!
It’s a good time to also clear any caching your website or host might be using. Clearing server-side cache will ensure that your WordPress website loads this code the next time it is accessed via a browser.
How to install Google Analytics in WordPress with a plugin
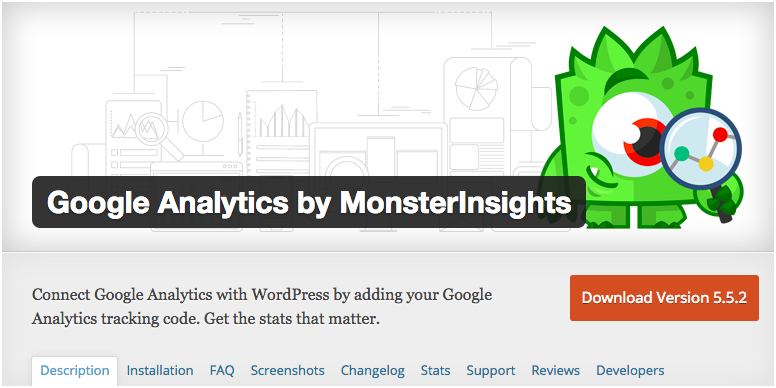
My favorite plugin for this is, Google Analytics by MonsterInsights.
This plugin was once maintained by the team behind the most popular SEO plugin, Yoast, which I recommended in my Guide to Mobile WordPress plugins article.
Why should you use this plugin?
Adding the tracker code was pretty painless, so long as your theme supported that quick and easy option. However, you can’t fine-tune the way Google tracks your data after that, which is critical if your website relies on accurate reporting.
For example, MonsterInsights will, by default, ignore Admin & Editor users of your WordPress website. There’s no point in having all of your admin traffic show up in your GA reports, unless you want to really spike your numbers and upset the boss.
That’s just the tip of the iceberg, so we’ll show you more of the options later.
Installing MonsterInsights
This is fairly painless as well:
Click Plugins > Add new > Search: “MonsterInsights” > Install > Activate
The plugin is ready to configure!
Configuring MonsterInsights
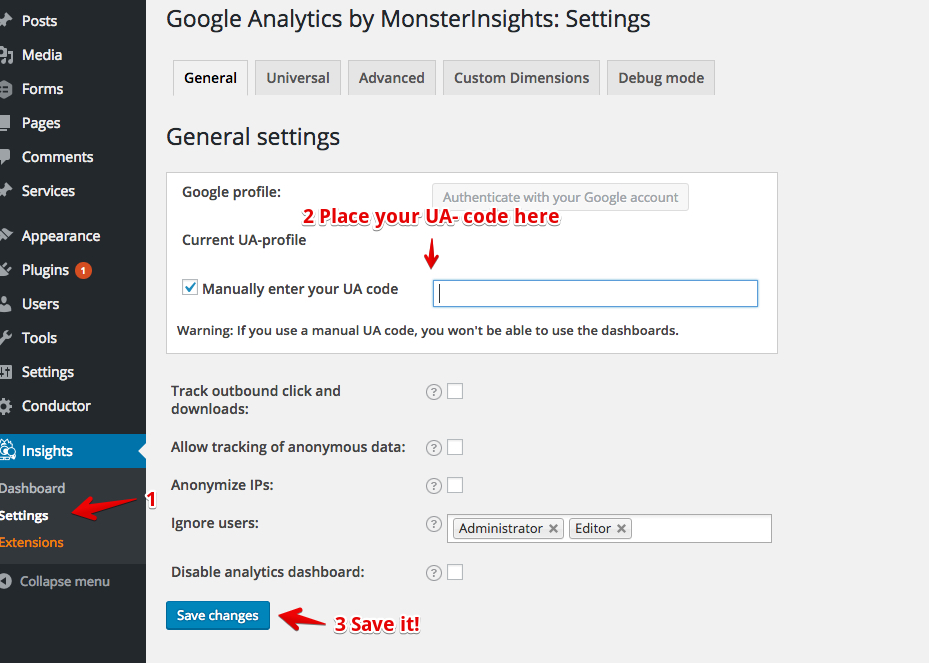
Instead of needing that long complex script, we’ll only need that unique UA- code shown in the Google Analytics Admin screenshot above. Alternatively, you can even authorize MonsterInsights with your Google account, making it even easier to simply pick your website from a list.
This is all you need to connect Google Analytics to MonsterInsights and your WordPress website!
Take MonsterInsights Further
There’s a premium version of MonsterInsights as well. It’s core focus to help you track better e-commerce insights, directly in your GA dashboard. It will automatically tag your WooCommerce or Easy Digital Download products and track their sales performance, like conversion rates.
Get the Pro version of MonsterInsights
Important Options Screens from MonsterInsights
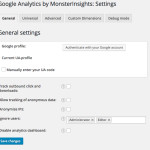
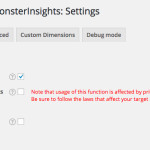
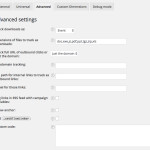
Still can’t decide if you want to use the plugin? Here’s a collection of screenshots that show you what else is under the hood.
How to confirm Google Analytics is loading

The easiest way to confirm that your site is actually loading the tracker code is to open up an incognito window in Chrome (or any other browser) and right click on your homepage, click View Page Source.
Now you want to search for your unique tracker code, which starts with “UA-“. In fact, you can search just for that text string on the page. In Chrome you can browse to Edit > Find > Find and type in “UA-“ then press enter.
So long as you can you find that string amongst the code on your screen, you’re good to go!


