
In our opening Jetpack plugin overview article, we covered a lot of the features and functions this popular plugin provides WordPress website owners. If you’re new to Jetpack and wondering if it’s going to serve your particular needs, go visit that article to get acquainted.
Installing the Jetpack plugin should be fairly straightforward even for the WordPress beginner. The immediate goals for this article will be:
- Get Jetpack installed
- Understand the requirements
- What to expect after you’ve completed the installation
Let’s dive into the fun!

Jetpack plugin installation requirements
Jetpack, while one of the most feature-rich plugins on the market, is pretty darned easy to install pound-for-pound. That being said, it doesn’t translate to the easiest to setup after the installation is complete. We’ll get to that later in the series.
Here’s what you’ll need to install Jetpack:
Plugin requirements
- The Jetpack plugin (available from WordPress.org or your WordPress dashboard)
- A WordPress.com account
- A block of time to set things up
Here are the eight simple setup instructions, directly from Jetpack’s main homepage.
Installing Jetpack
- Log in to your site’s Dashboard (e.g. www.yourgroovydomain.com/wp-admin).
- Click on the “Plugins” tab in the left panel, then click “Add New.”
- Search for “Jetpack” and the latest version will appear at the top of the list of results.
- Install it by clicking the “Install Now” link.
- When installation finishes, click “Activate Plugin.”
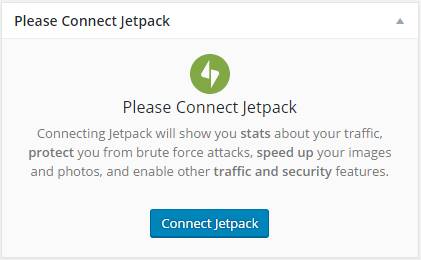
- Now click the green button on the top right that says “Connect to WordPress.com.”
- Log in with your WordPress.com account (or create one) and click “Authorize Jetpack.”
- You’re done!
Fairly painless, but what about this snazzy WordPress.com account and why?
Why do I need a WordPress.com account?
Fair warning: There are some purists on the web that don’t want their data touched and loathe the idea of relying on a third party service to activate plugin features. While I understand that argument, there are worse companies on the web scooping up our data; doing even worse things with it.
That being said, I’ll refer you to my original Jetpack plugin overview article to learn more about why this freely available plugin also requires a cloud-based login service. Albeit a majority of Jetpack is free, they will offer you premium upsells, which might just do the trick for your business depending on your needs.
I’ve created a few top reasons as to why Jetpack requires you to have a cloud-based account for some of it’s cloud-based features. These same reasons are also excellent features of the plugin’s set.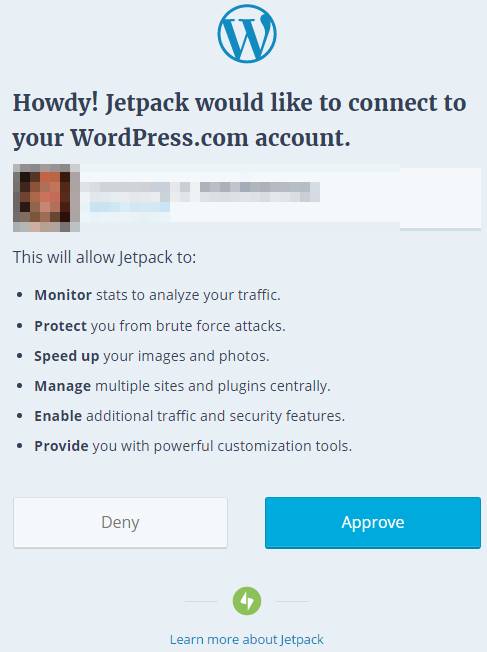
Top reasons to setup a WordPress.com account
Website stats
Jetpack provides insightful website traffic analytics for the newbie website owner. In fact, even a veteran webmaster might enjoy the clean and simple traffic numbers when compared to the war room-like Google Analytics giant. I’d venture to guess this is the driving force behind signing up to a WordPress.com account. Stats are tracked and saved to your account.
Akismet spam protection
Spam sucks. With a verified WordPress.com account, you can activate Akistmet spam protection services with a few clicks. If you’re using your website for personal reasons (let’s face it, most of us aren’t making that much money on the web), you can receive Akismet base-level protection for $0. It’s a steal.
Managing more than one WordPress website
Activating your WordPress.com account and connecting them through Jetpack Manage feature will grant you access to your “network” of WordPress websites. Super useful if you manage multiple company blogs or you’re a WordPress consultant taking care of your client maintenance. We’ll cover Jetpack Manage in more detail as the series progresses.
Speeding up website load times
We live in an on-demand economy; we want everything fast. Jetpack has a feature called Photon Photos which leverages WordPress’ vast online network to serve your website’s images. The technical term is Content Delivery Network. We won’t get into the nitty-gritty of what this means, but the bottom line is, it makes things load much faster. The faster your website, the more engaging your content will be to readers.
 Where do I get a WordPress.com account?
Well, WordPress.com of course! The Jetpack plugin will take you through the setup process if you don’t already have an account, but if you want to jump ahead on your homework, go here: https://wordpress.com/start/
Pro-tip: If you’re a brand new to WordPress, signing up for WordPress.com will make it seem like you’re creating a new website. While, in fact, you are, you won’t be using that WordPress.com hosted website. Remember, we’re using self-hosted WordPress here.
It’s a head scratcher, I know. Maybe someday Automattic will allow us to create an account just for it’s cloud-based services?
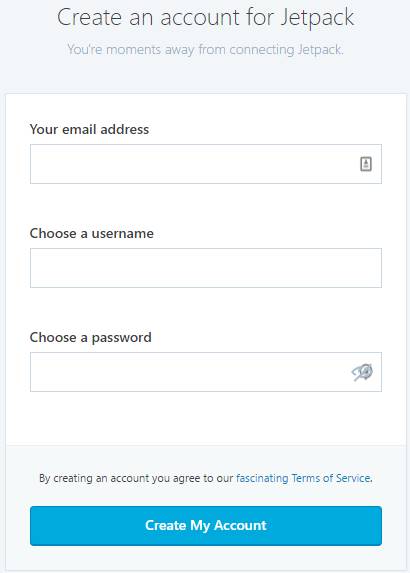
If you’re creating a WordPress.com account directly from the Jetpack installation process from your dashboard, it will allow you skip the normal signup procedure.
Can I disconnect Jetpack if I don’t like it?
Yep, and you can uninstall Jetpack like any other WordPress plugin. Here’s how to disconnect the cloud-based services:
- From your dashboard browse to Jetpack
- Scroll to the bottom of the Jetpack dashboard
- Click on Disconnect Jetpack
- Click Confirm Disconnect
And in four simple steps, you’ve disconnected your website from the Jetpack cloud services. You can head over to your plugins page and remove Jetpack if you need to.
Wrapping up the installation: Features I always activate & deactivate
As we’ve alluded to up to this point, you’re probably not going to use every feature in Jetpack. In fact, there are features I immediately disable everytime I install Jetpack:
- Beautiful Math
- Contact Form
- Custom Content Types
- Gravatar Hovercards
- Infinite Scroll
- JSON API
- Notifications
- Omnisearch
- Subscriptions
Features I always activate:
- Enhanced Distribution
- Manage
- Monitor
- Photon
- Protect
- Related Posts
- Sharing
Of course, your particular website may or may not follow my typical blueprint. For the features I did disable, I either have better alternatives in another plugin, or they are features I don’t want running on my site — because I’ll never use them.
For the features I do enable, they make managing a WordPress website easier, faster, and more engaging for my audience.
Next up in the series: How to use Jetpack plugin for content marketers
Now that you have a strong understanding of what Jetpack is and how to install it, we’re going to progress to using the Jetpack plugin. More specifically, how to use Jetpack for content marketing. This guide will be helpful for bloggers and business builders that need to have a fast and engaging browsing experience.
Do you have any additional feedback on your experience installing Jetpack or the features you activate? Leave your comments below.