Have you closed the Amazon website before buying the item you were looking at, only to have it reappear in your Facebook feed?
That’s powered by a Facebook remarketing pixel, and in today’s tutorial, I’m going to show you how to add that Facebook tracker to your WordPress website. It’s a fairly easy process, and can become quite powerful to help sell your product — maybe. Before we dive into learning the ins-and-outs of configuring this within your WordPress website, let’s talk about remarketing from a high-level.
Why Facebook remarketing?
Now more than ever, getting people to visit your website feels like a monumental task. Gone are the days of “build it and they will come”, or increase your traffic by sprinkling in a few keywords into your title tag. Content marketing is at the top of everyone’s game plan, and creating great content is key for that plan to become successful.
Imagine a situation where you’re using your blog as the cornerstone to driving organic traffic to the site. You spend hours creating content, planning out a content roadmap, and shaping that storyline around why people should trust & buy from you. There’s a hope that once you press publish, share on social channels, that the reader will be so moved by your words (or audio, or video) that they buy from you. Sadly, that’s not the case.
How do we get our customers to keep us top of mind?
First things first, be consistent. If you want to hit 1,000 subscribers on YouTube, keep the videos coming, same with blogging. Second, pay for that traffic to come back to you, in this case — remarketing. Think of remarketing as the best bang-for-your-buck in a paid acquisition strategy. I don’t want to dive deep into Pay-Per-Click, it’s certainly an art form to make it really work, and I’m no expert.
How remarketing works, for dummies
- Someone visits your website
- Facebook adds a pixel (or cookie) to the visitor’s Facebook account
- Facebook provides that audience data to you
- You can then advertise to everyone in that segment
So instead of a spray and pray mentality of PPC, you can now capture warmer (albeit, smaller) traffic of visitors that have already consumed your content, to serve up ads to. To reiterate the advantages:
- It’s going to be more affordable traffic for you to purchase versus cold traffic.
- The viewer of the ad is already familiar with your product
- You can be more targetted
I’m sure there’s a lot more to discuss here, but let’s dive into getting this working on your WordPress website!
Installing a Facebook pixel to your WordPress website
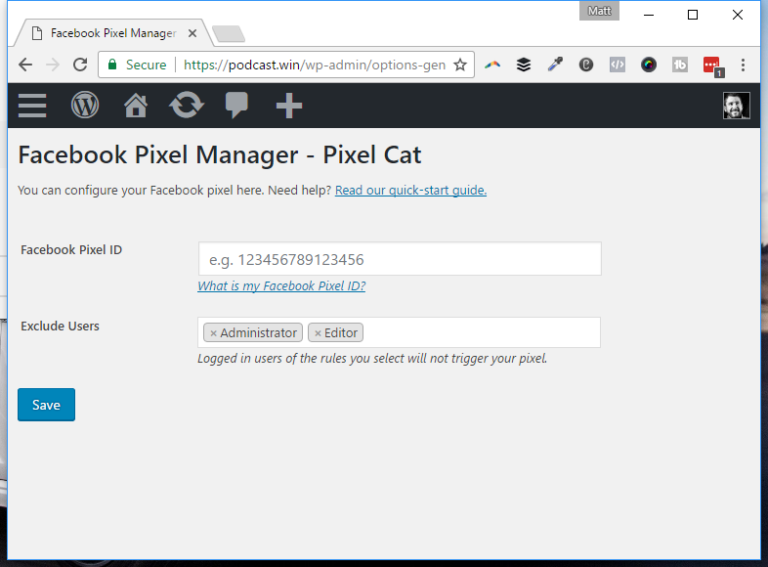
In the video above, I show you how to use Pixel Cat, a new plugin for adding a Facebook pixel to your site without coding. I enjoyed using it, because of it’s simplicity, literally taking me about 15 seconds once I had it installed.

As you can see, it doesn’t get any more straightforward than that. Paste in your pixel (watch the video, I show you where to get it) and hit save. If you want to block out other user roles, you can add them in the Exclude Users section. It’s really that easy.

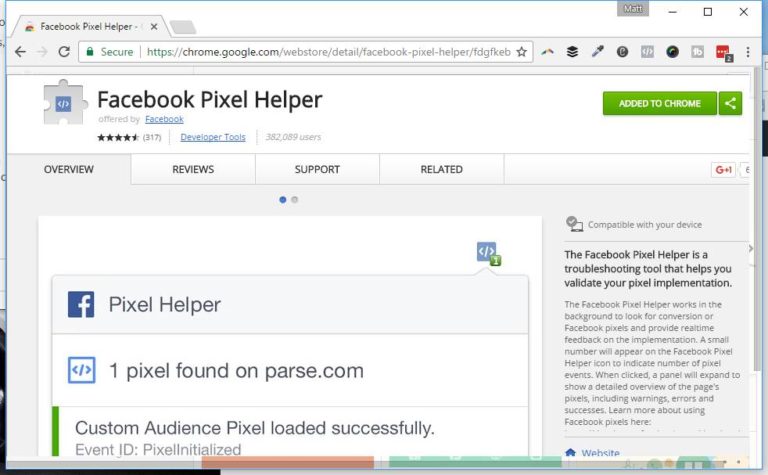
If you want to test that the Facebook pixel is actually being loaded, you can install the Facebook Pixel Helper Chrome add-on. A handy tool during your development process, or even to see what sites are pixel’ing you along the way.
Have any questions or comments, leave them below!

